In this tutorial, you are going to learn the basics of Vue.js. While we learn, we are going to build a Todo app that will help us to put in practice what we learn.
A good way to learn a new framework, It’s by doing a Todo app. It’s an excellent way to compare framework features. It’s quick to implement and easy to understand. However, don’t be fooled by the simplicity, we are going to take it to the next level. We are going to explore advanced topics as well such as Vue Routing, Components, directives and many more!
Let’s first setup the dev environment, so we can focus on Vue! 🖖
Setup
We are going to start with essential HTML elements and CSS files and no JavaScript. You will learn how to add all the JavaScript functionality using Vue.js.
To get started quickly, clone the following repo and check out the start-here branch:
1 | git clone https://github.com/amejiarosario/vue-todo-app.git |
After running npm start, your browser should open on port http://127.0.0.1:8080 and show the todo app.
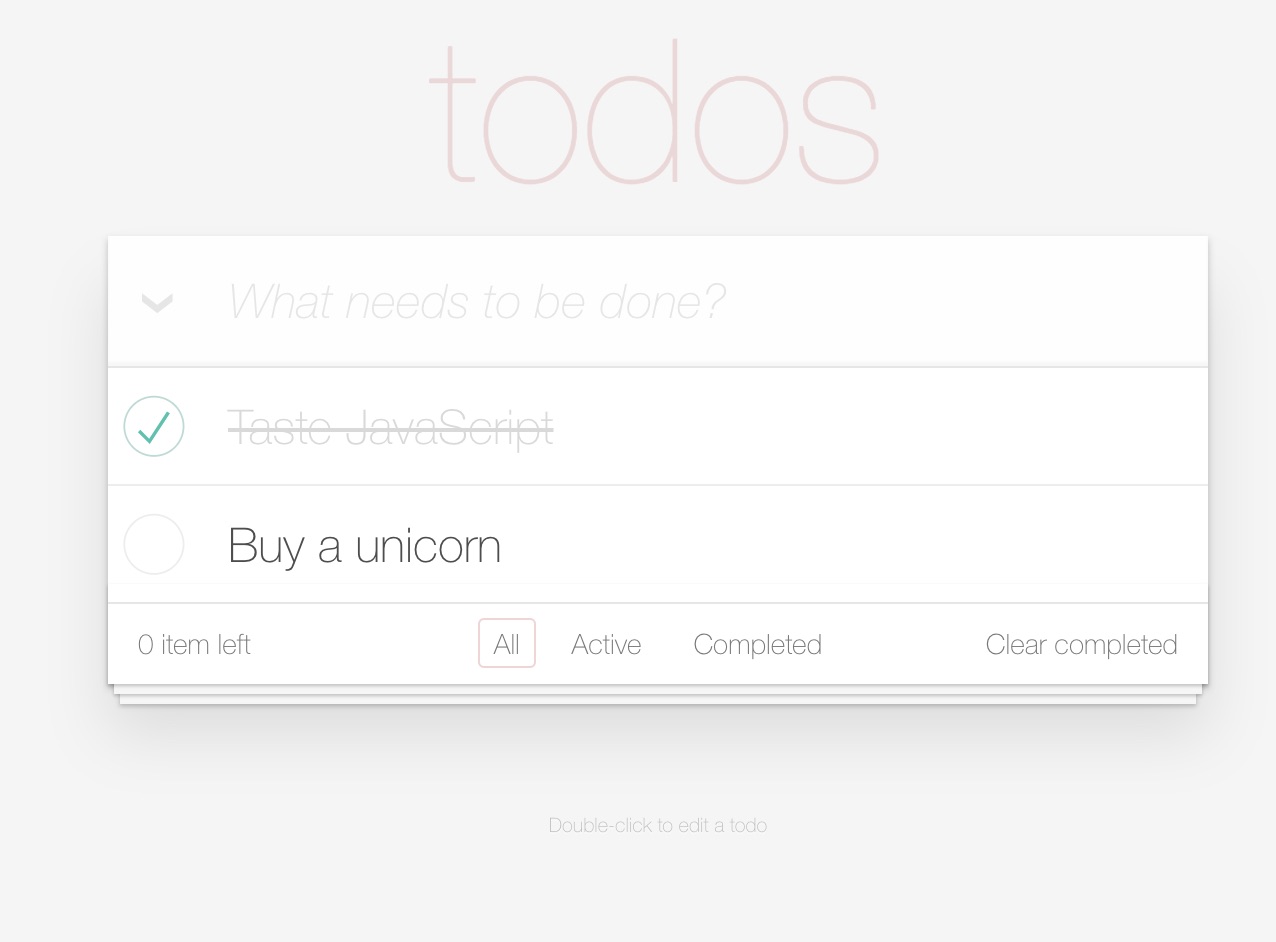
Try to interact with it. You cannot create a new Todos, nor can you delete them or edit them. We are going to implement that!
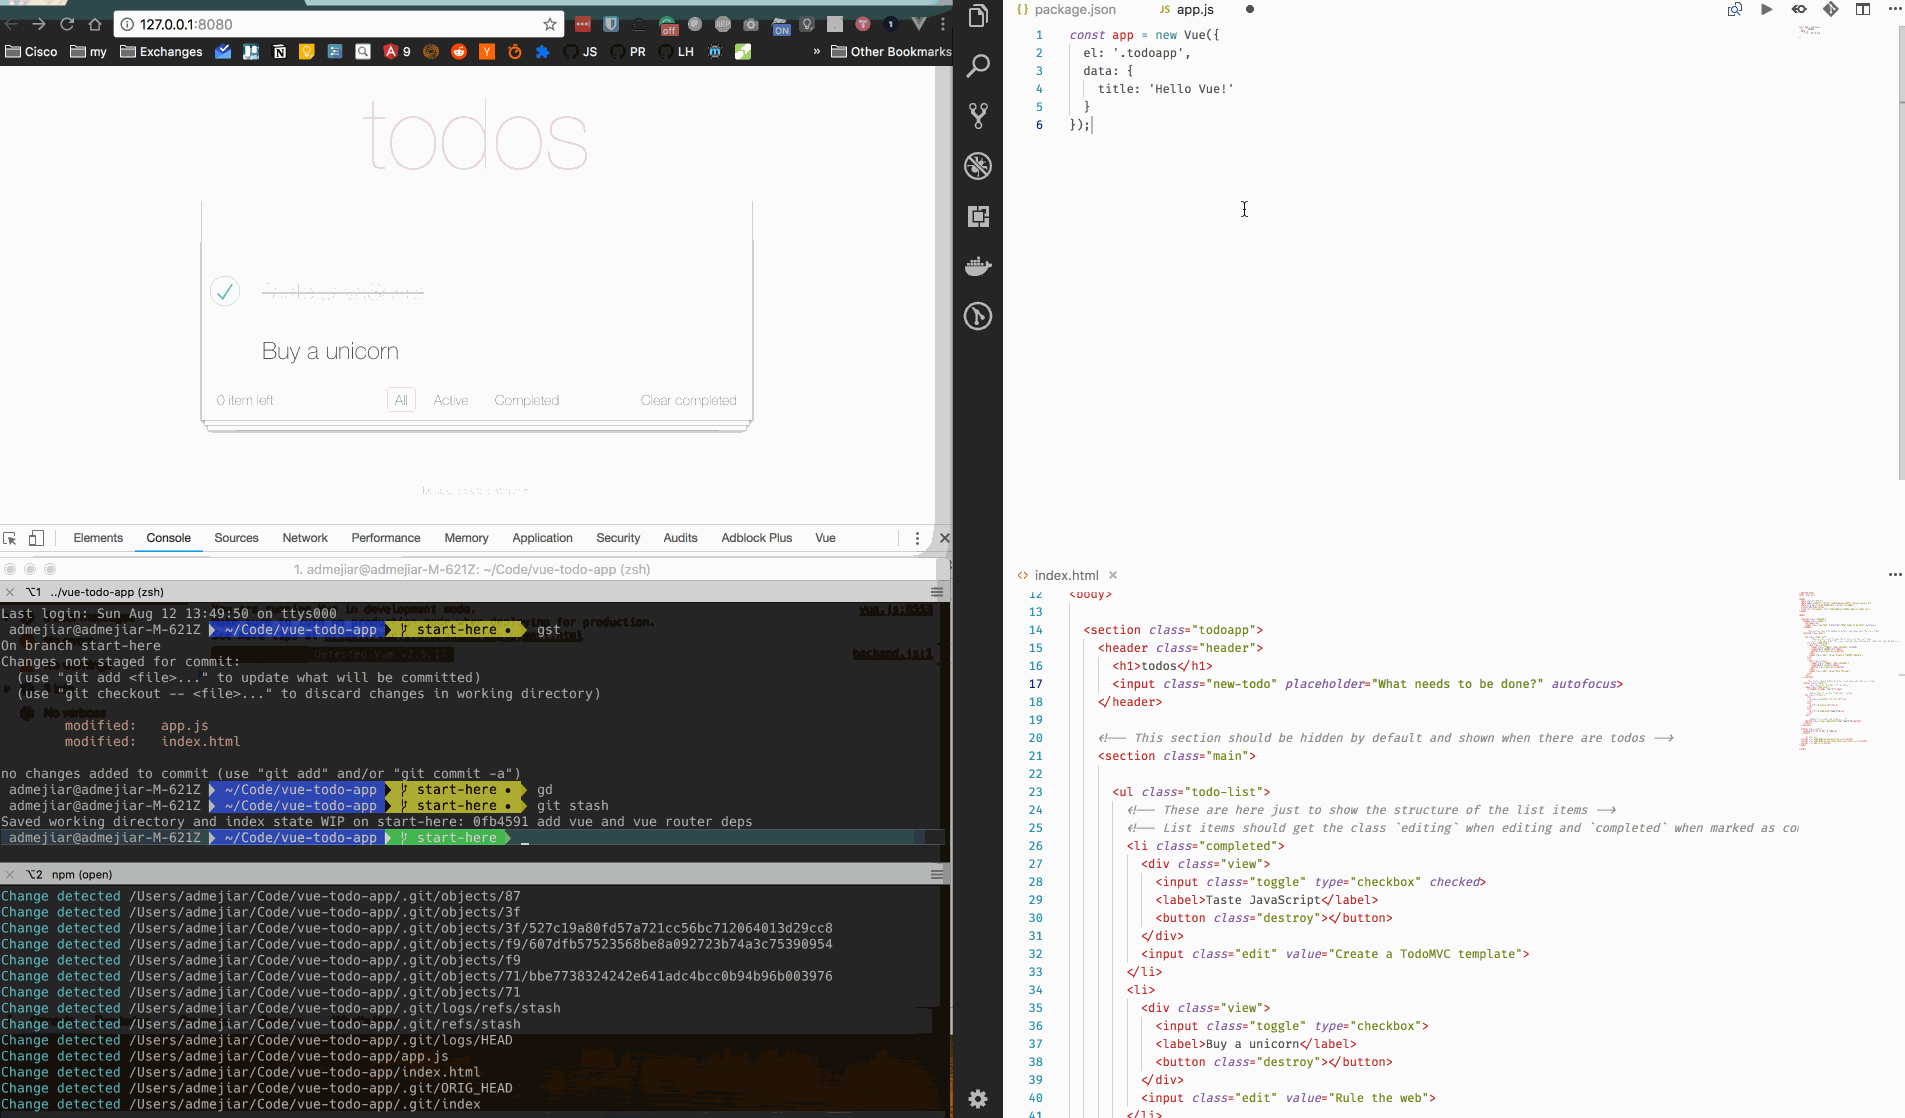
Open your favorite code editor (I recommend Code) on vue-todo-app directory.
Package.json
Take a look at the package.json dependencies:
1 | "dependencies": { |
We installed Vue and VueRouter dependencies. Also, we have the nice CSS library for Todo apps and live-server to serve and reload the page when we make changes. That’s all we would need for this tutorial.
index.html
Open the index.html file. There we have the basic HTML structure for the Todo app that we are going to build upon:
- Line 9: Loads the CSS from NPM module
node_modules/todomvc-app-css/index.css. - Line 24: We have the
uland some hard-coded todo lists. We are going to change this in a bit. - Line 75: we have multiple script files that load Vue, VueRouter and an empty
app.js.
Now, you know the basic structure where we are going to work on. Let’s get started with Vue! 🖖
Getting started with Vue
As you might know…
Vue.js is a reactive JavaScript framework to build UI components.
It’s reactive because the data and the DOM are linked. That means, that when data changes, it automatically updates the DOM. Let’s try that!
Vue Data & v-text
Go to app.js and type the following:
1 | const todoApp = new Vue({ |
Notice the 2nd line with el: '.todoapp'. The el is the element where Vue is going to be mounted.
If you notice in the index.html that’s the section part. As shown in the fragment below.
1 | <body> |
Going back to the app.js file, let’s now take a look into the data attribute, that binds the title. The data object is reactive. It keeps track of changes and re-render the DOM if needed. Go to the index.html page and change <h1>todos</h1> for <h1>{{ title }}</h1>. The rest remains the same:
1 | <section class="todoapp"> |
If you have npm start running you will see that the title changed!
You can also go to the console and change it todoApp.title = "Bucket List" and see that it updates the DOM.
Note: besides the curly braces you can also use v-text:
1 | <h1 v-text="title"></h1> |
Let’s go back to app.js and do something useful inside the data object. Let’s put an initial todo list:
1 | const todoApp = new Vue({ |
Now that we have the list on the data, we need to replace the <li> elements in index.html with each of the elements in the data.todos array.
Let’s do the CRUD (Create-Read-Update-Delete) of a Todo application.
READ: List rendering with v-for
As you can see everything starting with v- is defined by the Vue library.
We can iterate through elements using v-for as follows:
1 | <li v-for="todo in todos"> |
You can remove the other <li> tag that was just a placeholder.
CREATE Todo and event directives
We are going to implement the create functionality. We have a textbox, and when we press enter, we would like to add whatever we typed to the list.
In Vue, we can listen to an event using v-on:EVENT_NAME. E.g.:
- v-on:click
- v-on:dbclick
- v-on:keyup
- v-on:keyup.enter
Protip: since v-on: is used a lot, there’s a shortcut @. E.g. Instead of v-on:keyup.enter it can be @keyup.enter.
Let’s use the keyup.enter to create a todo:
1 | <input class="new-todo" placeholder="What needs to be done?" |
On enter we are calling createTodo method, but it’s not defined yet. Let’s define it on app.js as follows:
1 | methods: { |
Applying classes dynamically & Vue v-bind
If you click the checkbox (or checkcirlcle) we would like the class completed to be applied to the element. We can accomplish this by using the v-bind directive.
v-bind can be applied to any HTML attribute such as class, title and so forth. Since v-bind is used a lot we can have a shortcut :, so instead of v-bind:class it becomes :class.
1 | <li v-for="todo in todos" :class="{ completed: todo.isDone }"> |
Now if a Todo list is completed, it will become cross out. However, if we click on the checkbox, it doesn’t update the isDone property. Let’s fix that next.
Keep DOM and data in sync with Vue v-model
The todos have a property called isDone if it’s true we want the checkbox to be marked. That’s data -> DOM. We also want if we change the DOM (click the checkbox) we want to update the data (DOM -> data). This bi-directional communication is easy to do using v-model, it will keep it in sync for you!
1 | <input class="toggle" type="checkbox" v-model="todo.isDone"> |
If you test the app now, you can see when you click the checkbox; also the text gets cross out. Yay!
You can also go to the console and verify that if you change the data directly, it will immediately update the HTML. Type the following in the browser console where you todo app is running:
1 | todoApp.todos[2].isDone = true |
You should see the update. Cool!
UPDATE todo list with a double-click
We want to double click on any list and that it automatically becomes a checkbox. We have some CSS magic to do that, the only thing we need to do is to apply the editing class.
1 | <!-- List items should get the class `editing` when editing and `completed` when marked as completed --> |
Similar to what we did with the completed class, we need to add a condition when we start editing.
Starting with the label, we want to start editing when we double-click on it. Vue provides v-on:dblclick or shorthand @dblclick:
1 | <label @dblclick="startEditing(todo)">{{todo.text}}</label> |
In the app.js we can define start editing as follows:
1 | const todoApp = new Vue({ |
We created a new variable editing in data. We just set whatever todo we are currently editing. We want only to edit one at a time, so this works perfectly. When you double-click the label, the startEditing function is called and set the editing variable to the current todo element.
Next, we need to apply the editing class:
1 | <li v-for="todo in todos" :class="{ completed: todo.isDone, editing: todo === editing }"> |
When data.editing matches the todo , then we apply the CSS class. Try it out!
If you try it out, you will notice you can enter on edit mode, but there’s no way to exit from it (yet). Let’s fix that.
1 | <input class="edit" |
First, we want the input textbox to have the value of the todo.text when we enter to the editing mode. We can accomplish this using :value="todo.text". Remember that colon : is a shorthand for v-bind.
Before, we implemented the startEditing function. Now, we need to complete the edit functionality with these two more methods:
finishEditing: applies changes to thetodo.text. This is triggered by pressing enter or clicking elsewhere (blur).cancelEditing: discard the changes and leavetodoslist untouched. This happens when you press the esc key.
Let’s go to the app.js and define these two functions.
1 | finishEditing(event) { |
Cancel is pretty straightforward. It just set editing to null.
finishEditing will take the input current’s value (event.target.value) and copy over the todo element that is currently being edited. That’s it!
DELETE todo list on @click event
Finally, the last step to complete the CRUD operations is deleting. We are going to listen for click events on the destroy icon:
1 | <button class="destroy" @click="destroyTodo(todo)"></button> |
also, destroyTodo implementation is as follows:
1 | destroyTodo(todo) { |
Trimming inputs
It’s always a good idea to trim user inputs, so any accidental whitespace doesn’t get in the way with textbox.value.trim().
Items left count with computed properties
Right now the item left count is always 0. We want the number of remaining tasks. We could do something like this:
1 | <strong>{{ todos.filter(t => !t.isDone).length }}</strong> item(s) left</span> |
That’s a little ugly to stick out all that logic into the template. That’s why Vue has the computed section!
1 | computed: { |
Now the template is cleaner:
1 | <strong>{{ activeTodos.length }}</strong> item(s) left</span> |
You might ask, why use a computed property when we can create a method instead?
Computed vs. Methods. Computed properties are cached and updated when their dependencies changes. The computed property would return immediately without having to evaluate the function if no changes happened. On the other hand, Methods will always run the function.
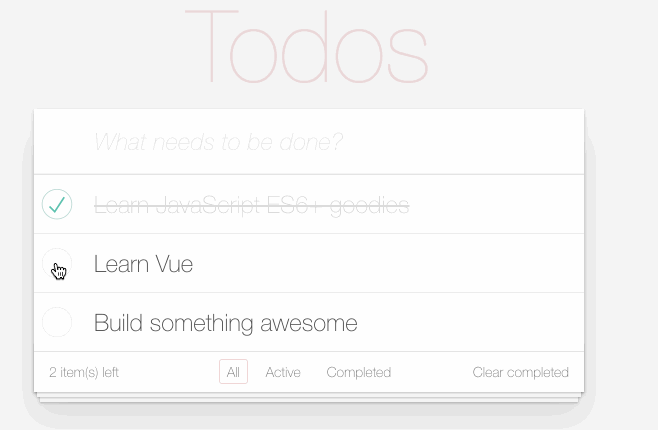
Try completing other tasks and verify that the count gets updated.
Clearing completed tasks & conditional rendering with v-show
We want to show clear completed button only if there are any completed task. We can accomplish this with the v-show directive:
1 | <button class="clear-completed" @click="clearCompleted" v-show="completedTodos.length">Clear completed</button> |
The v-show will hide the element if the expression evaluates to false or 0.
One way to clearing out completed tasks is by assigning the activeTodos property to the todos:
1 | clearCompleted() { |
Also, we have to add the computed property completedTodos that we use in the v-show
1 | completedTodos() { |
Vue Conditional Rendering: v-show vs v-if
v-show and v-if looks very similar, but they work differently. v-if removes the element from the DOM and disable events, while v-show hides it with the CSS display: none;. So, v-if is more expensive than v-show.
If you foresee the element being toggling visibility very often then you should use
v-show. If not, then usev-if.
We can hide the footer and central section if there’s no todo list.
1 | <section class="main" v-if="todos.length">... </section> |
Local Storage
On every refresh, our list gets reset. This is useful for dev but not for users. Let’s persist our Todos in the local storage.
Local storage vs. Session storage. Session data goes away when you close the window or expire after a specific time. Local storage doesn’t have an expiration time.
The way localStorage works is straightforward. It is global variable and has only 4 methods:
localStorage.setItem(key, value): key/value storage.keyandvalueare coerced into a string.localStorage.getItem(key): get the item by key.localStorage.removeItem(key): remove item matching the key.localStorage.clear(): clear all items for the current hostname.
We are going to use getItem and setItem. First we need to define a storage key:
1 | const LOCAL_STORAGE_KEY = 'todo-app-vue'; |
Then we replace data.todos to get items (if any) from the local storage:
1 | data: { |
We have to use JSON.parse because everything gets stored as a string and we need to convert it to an object.
getItem will retrieve the saved todos from the localstorage. However, we are saying it yet. Let’s see how we can do that.
Vue Watchers
For saving, we are going to use the Vue watchers.
Vue watchers vs. Computed properties. Computed properties are usually used to “compute” and cache the value of 2 or more properties. Watchers are more low level than computed properties. Watchers allow you to “watch” for changes on a single property. This is useful for performing expensive operations like saving to DB, API calls and so on.
1 | watch: { |
This expression watches for changes in our todos data. Deep means that it recursively watches for changes in the values inside arrays and objects. If there’s a change, we save them to the local storage.
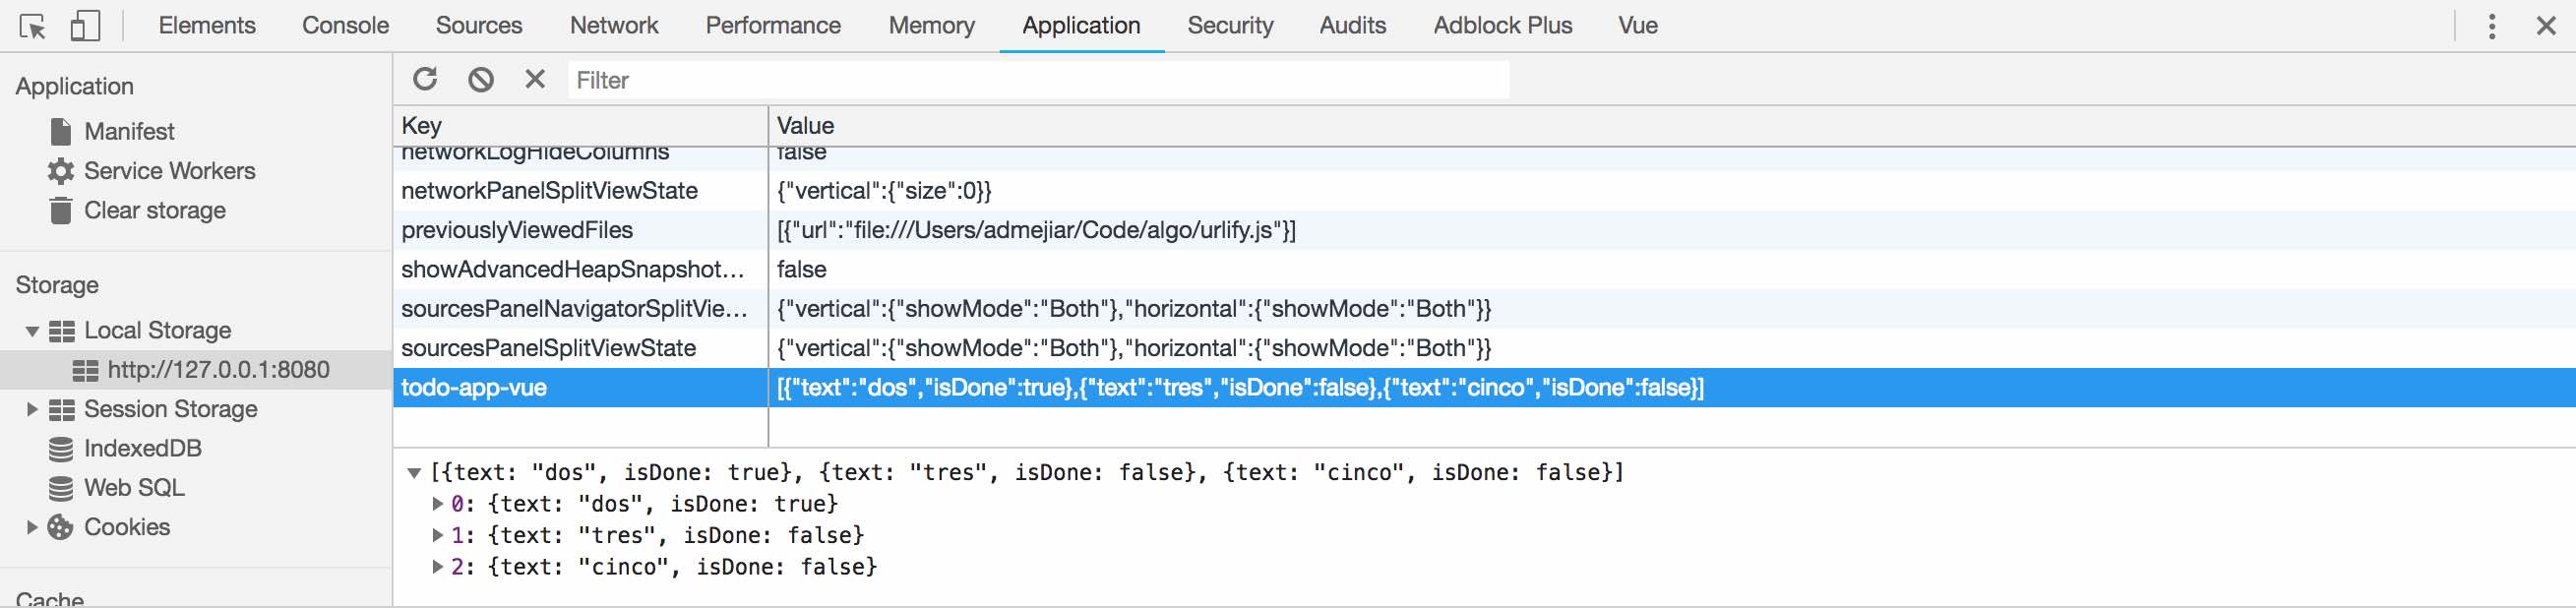
Once you change some todos, you will see they are stored in the local storage. You can access them using the browser’s dev tools:
The last part to implement is the routing! However, for that, we need to explain some more concepts and will do that in the next post.
In the next tutorial, we are going to switch gears a little bit and go deeper into Vue Components, Routing, and Local Storage. Stay tuned!
Summary: Vue cheatsheet
We learned a lot! Here is a summary:
| Name | Description | Examples |
|---|---|---|
| Mustache | Variable that is replaced with variable's value |
|
| v-bind | Bind to HTML attribute |
|
| : | Shortcut for v-bind |
|
| v-text | Inject text into the element |
|
| v-html | Inject raw HTML into the element |
|
| Name | Description | Examples |
|---|---|---|
| v-for | Iterate over elements |
|
| v-for | Iterate with index |
|
| v-for | Iterate over object's values |
|
| v-for | Iterate over object's keys/values |
|
| v-for | Iterate with keys, values and index |
|
| Name | Description | Examples |
|---|---|---|
| v-on:click | Invoke callback on click |
|
| @ | `@` is shorcut for `v-on:` |
|
| v-on:dblclick | Invoke callback on double-click |
|
| @keyup.enter | Invoke callback on keyup enter |
|
| @keyup.esc | Invoke callback on keyup esc |
|
| Name | Description | Examples |
|---|---|---|
| v-show | Show or hide the element if the expression evaluates to truthy |
|
| v-if | Remove or add the element if the expression evaluates to truthy |
|
| Name | Description | Examples |
|---|---|---|
| v-model | Keep data and DOM in sync automatially |
|
| Example with all attributes |
|---|
|